How to Balance Work and Home Schooling
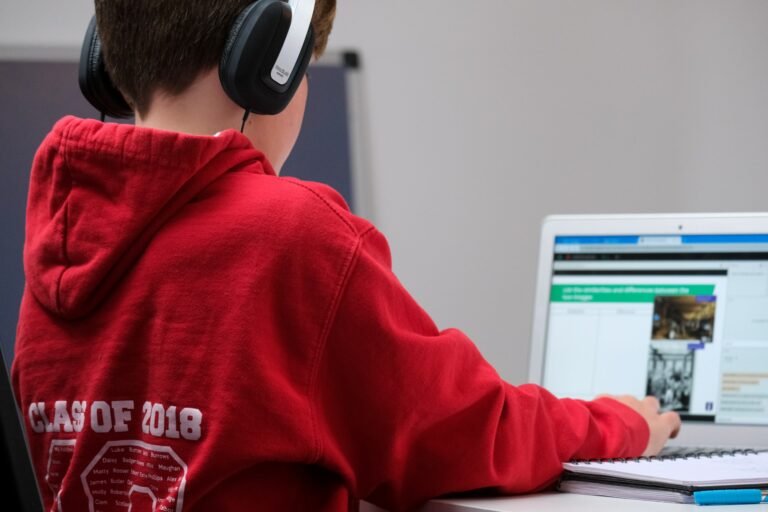
As a parent, balancing work and homeschooling can be a challenge but not impossible to achieve. Homeschooling is often possible for parents who work remotely or from home. The idea...
Home Education

It is really important to improve your writing skills regularly when teaching someone at home. And in order to for your paper to be graded highly, we recommend an essay writing service EasyEssay.us.
 Parimatch – the best betting site , just choose your best and win
 Get a discount on online courses, books and other useful educational products at Promocodius. On our website you will find up-to-date promo codes for goods and services of hundreds of popular brands in 15 countries of the world.

Buy cs2 boosting from Eloboss, raise your rank up to Global Elite by sharing your account to the best CS2 players, only legit methods involved.

Australian casinos accepting Neosurf provides a wide range of payment options for players who are based in Australia. Players can choose to use a Virtual MasterCard option, which allows users to make payments using a virtual card at Neosurf deposit casinos.
 Discover the best payment gateways for Android apps, offering seamless transactions and top-notch security features. Boost your app’s user experience by integrating these reliable and efficient payment solutions.